SVG to PNG using Inkscape
A ScrappyDew customer wanted to know how you can convert an SVG file into a PNG image. She would like to do a Print n Cut and use the image for Digital Scrapbooking. I worked up this little tutorial for her, thought I would share it with you all as well. 🙂
I’m using a free vector program called Inkscape. You can download it here. For Mac users, some additional information on downloading and installing.
ScrappyDew pattern file – Feeling Lucky – 2015, you can use any SVG file.
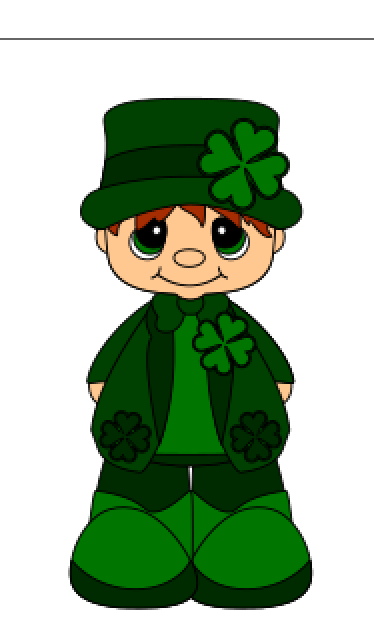
Go to File – Open and select the SVG you want to create a PNG image of.
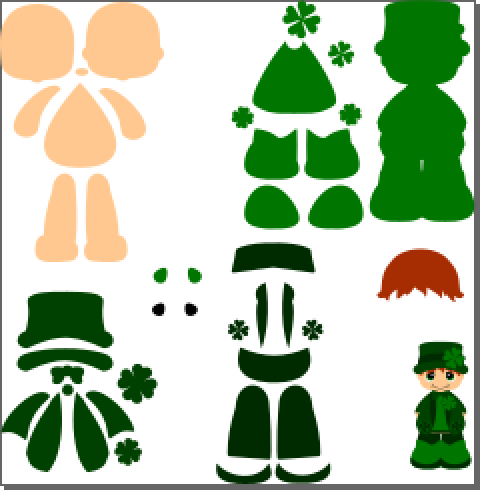
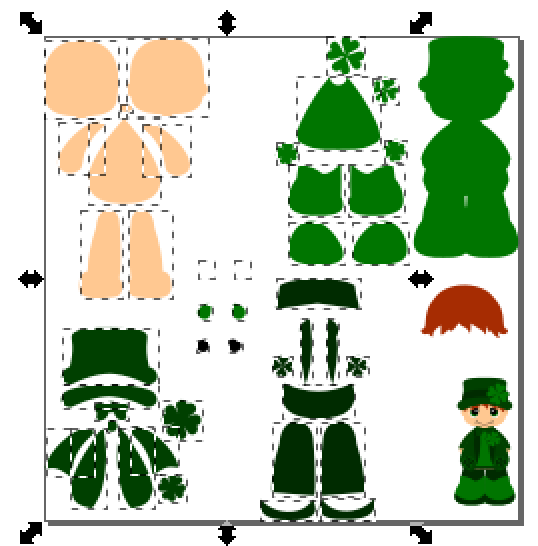
Draw a box or select all the layers you want to delete. We’ll just be using the completed layered boy for this tutorial. Delete all the layers by hitting the Delete key on your keyboard or by going to Edit – Delete.
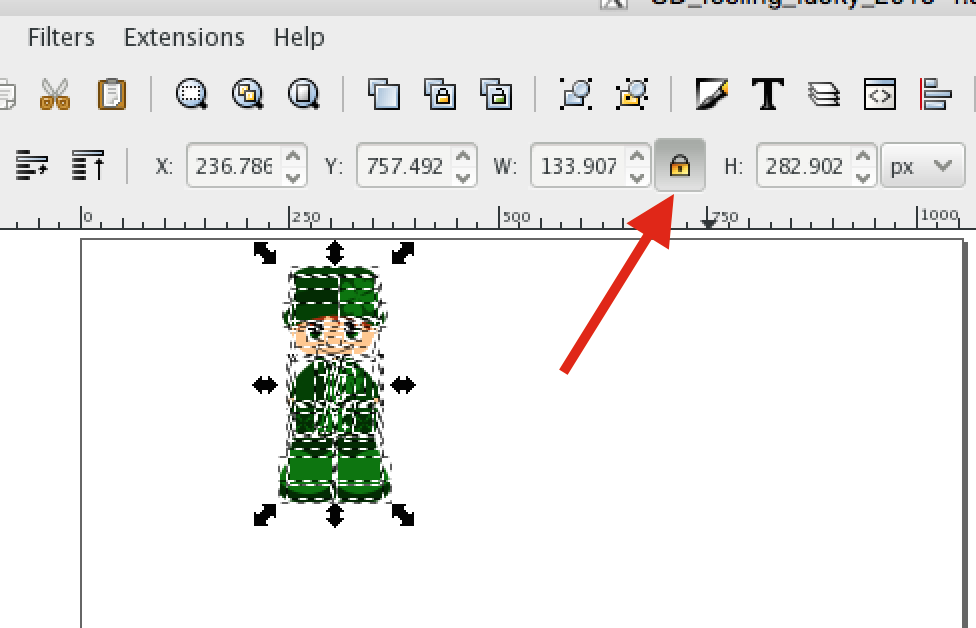
Once all layers have been deleted, draw a box around the boy. Making sure the Lock is locked so the width and the height are in proportion, resize accordingly.
At this time you can add a Stroke to give your image a more defined look.
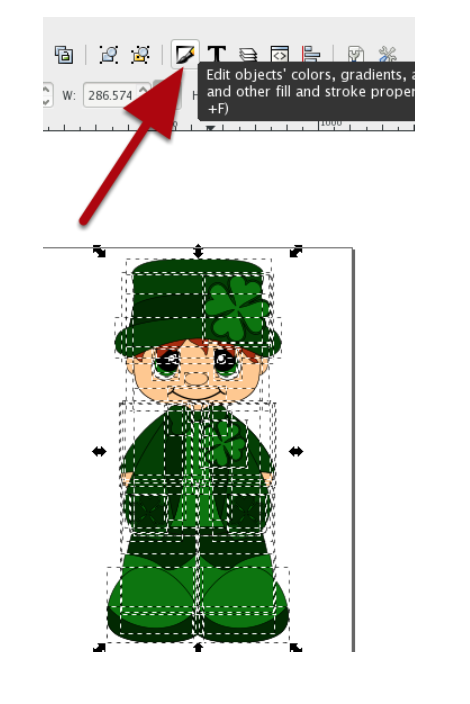
Click on the Icon to edit colors, stroke pattern etc.
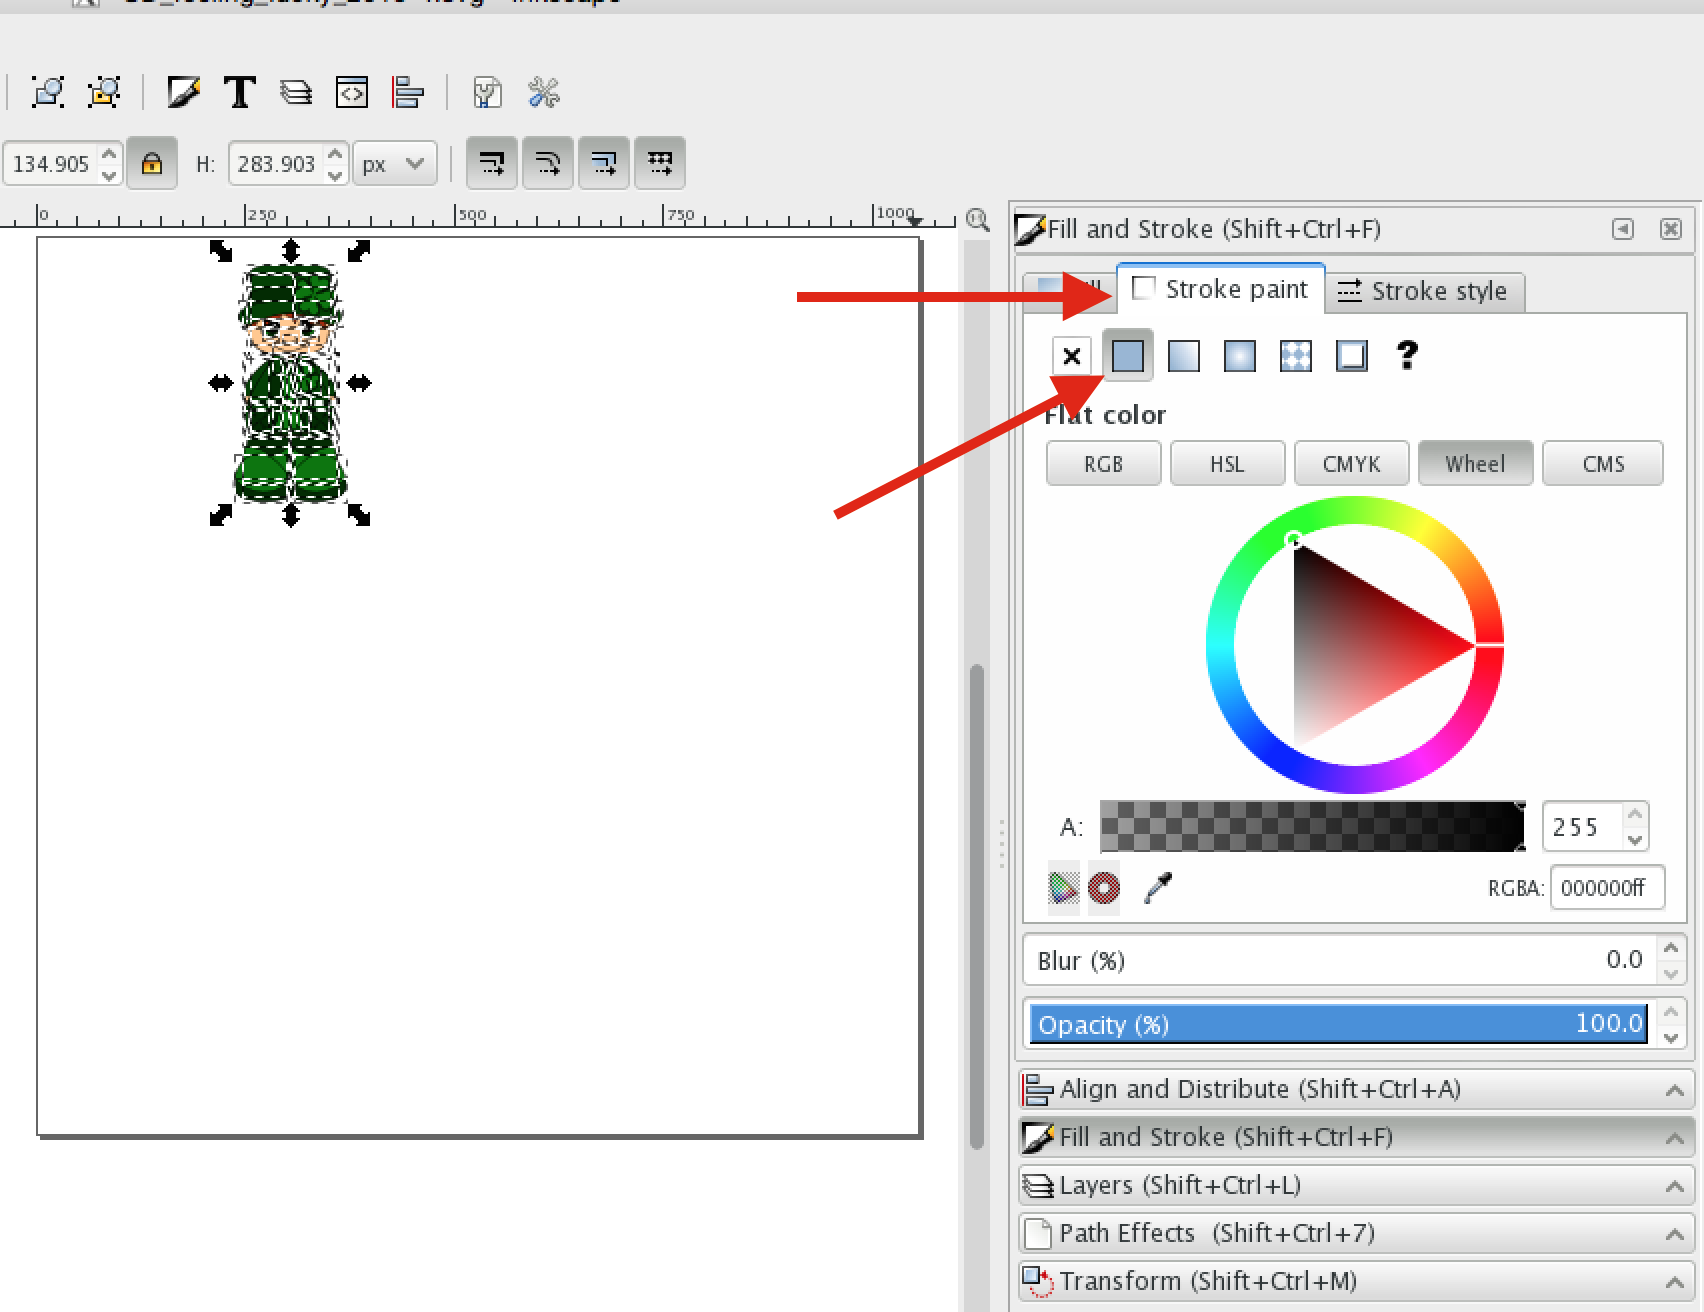
A Dialog Window will open up where you can select the Stroke and Stroke Style. Click on the Stroke Paint Tab – Flat Color. I’m using the Color Wheel to select my color, you may click on the other color options as well.
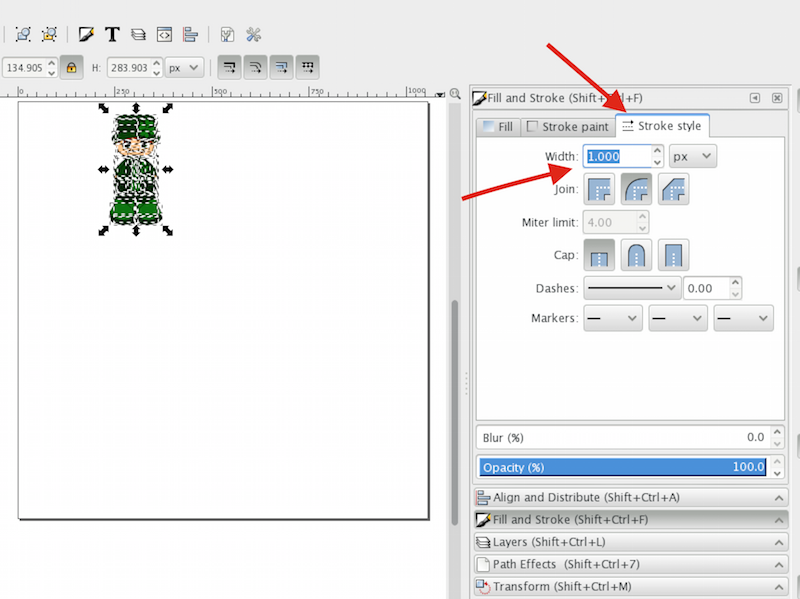
Click on the Stroke Style tab, here you can adjust the Width of the Stroke and various other settings. I set my Stroke to 1.
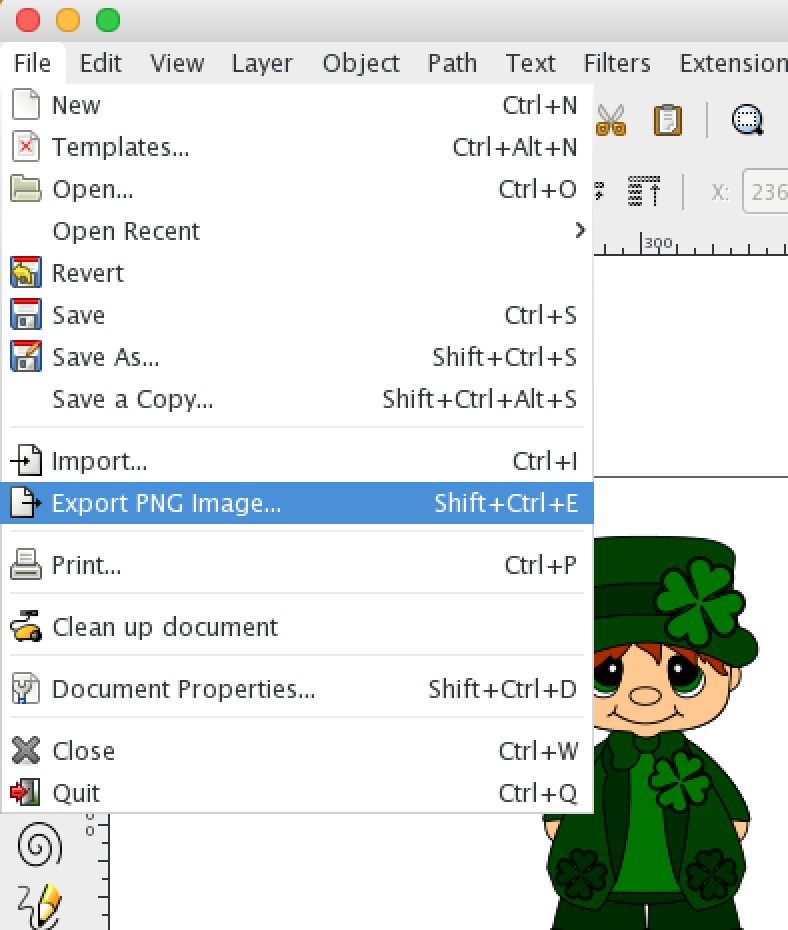
Next, go to File – Export PNG image.
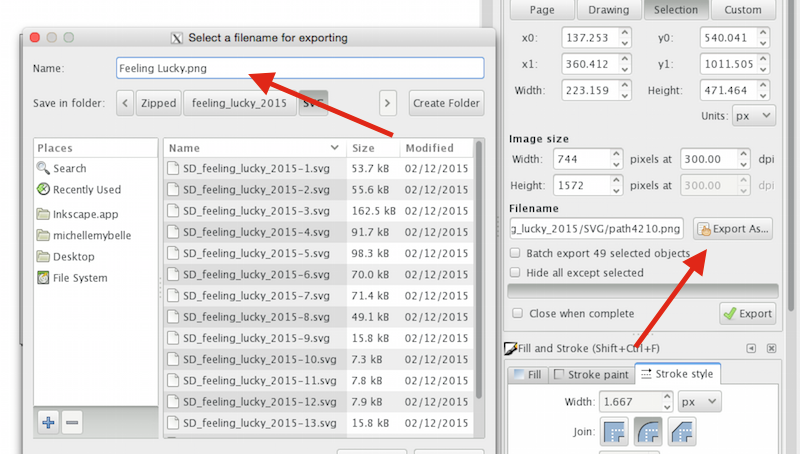
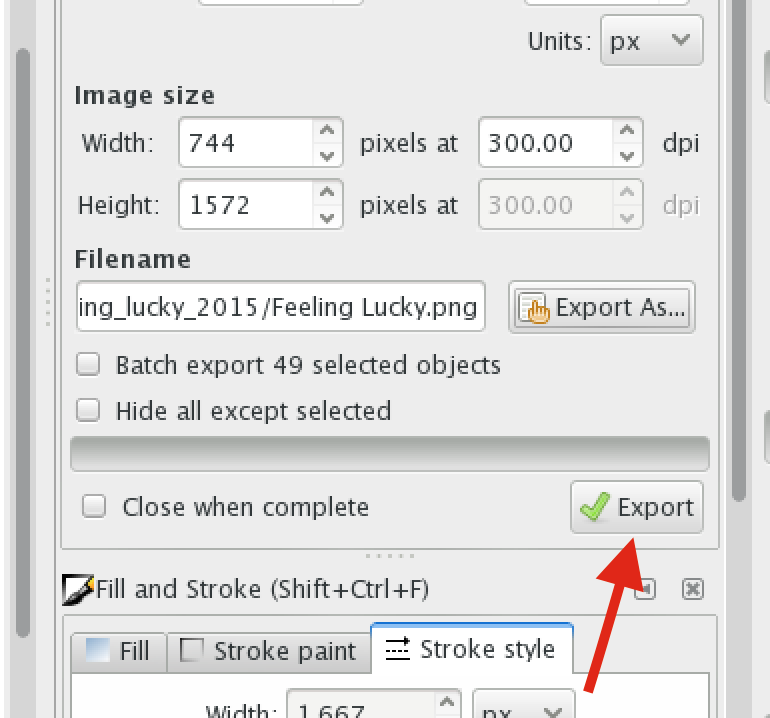
The Dialog Window will open, you can adjust the settings as needed. Making sure the DPI is set at least to 300 for printing. Click on Export As – give your file a name – select a folder where you want the files saved to – Click Save.
Next click on Export.
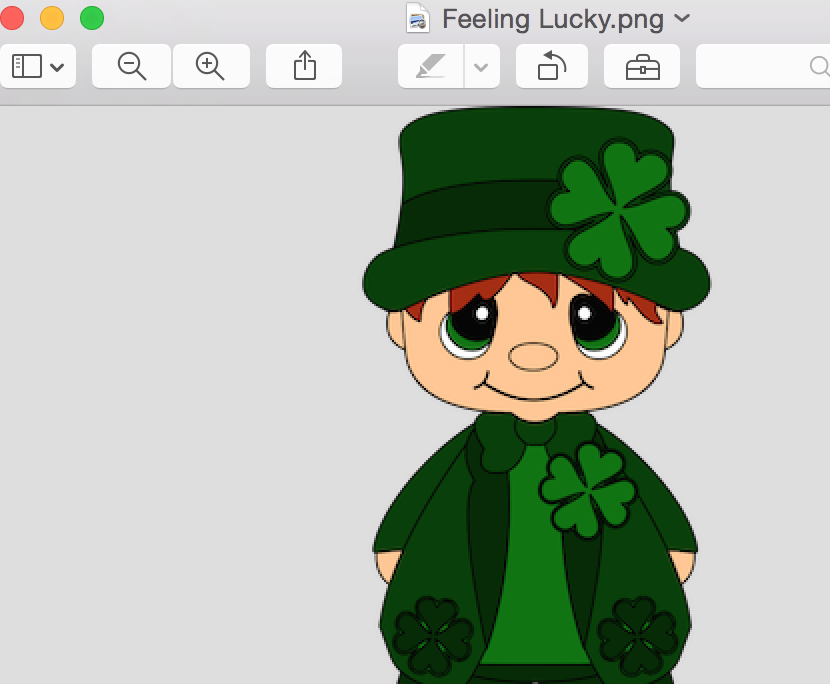
And now you have a PNG image from an SVG, for use with Print n Cut or any digital projects. 🙂
Thanks for stopping by, hope you find this tutorial useful. 🙂
Michelle
Thanks for the quick tutorial will have to try this
You’re welcome Janet. 🙂